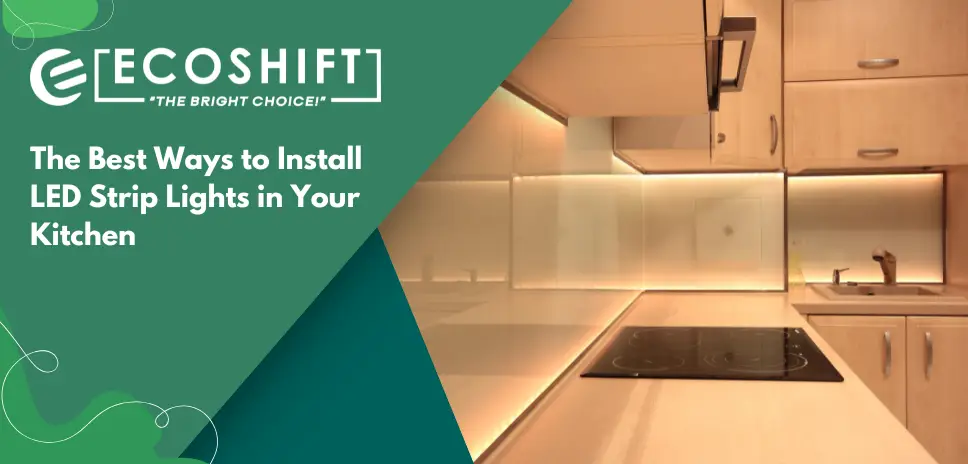
Introduction
LEDs are now common choices for most homes to spruce up a kitchen’s décor and functionality. To brighten countertops, evoke warm ambiance or just highlight anything interesting, led strip lights serve many purposes because they are power-friendly and rather simple to place. Here are some of the best ways for installation of these in your home.
1. Pick the Correct LED Strip Light
First, choose the right type of LED strip lights suitable for your kitchen’s style and functionality. LED strip lights come in different color temperatures, such as warm white for cozy ambiance or cool white for a modern look. Other important features include dimming options, waterproofing (if your LED strip lights are to be used under sinks or by the pool), and RGB colors for customizable lighting. Ecoshift Corporation offers a wide array of good quality LED strip lights in order to fulfill such requirements. Find them at www.ecoshiftcorp.com
2. Plan the Installation Area
There are few areas most commonly needed for installing LED strip lights inside the kitchen.
Some of those include:
Under Cabinets: For illuminating countertops and reducing food preparation time
Above Cabinets: For creating a subtle ambiance on your ceiling, giving the place a sophisticated feel and look.
Under Kitchen Islands: You would achieve a floating effect by making use of light around the base. Inside Cabinets or Drawers: Enhance light and give your space a very luxurious feel.
Measure the areas you will mount the lights upon to get the proper length of your LED strips you are purchasing for this task. 3 Prepare the Surface
For the LED strips to bond well, ensure the installation surface is clean. Wipe dust, grease, or debris using a damp cloth. A clean, dry surface will ensure that the adhesive backing of the LED strip sticks well.
4. Cut the LED Strip Lights to Fit
Most LED strip lights can be cut along marked lines to fit your desired length. Using scissors, cut carefully at the designated points. Avoid cutting anywhere else, as it could damage the strips.
5. Installation of LED Strip Lights
Peel and Stick: Most LED strips have an adhesive backing. Simply peel off the protective layer and stick the strip onto the prepared surface. Apply gentle pressure to ensure a secure bond.
Use Mounting Clips: For added durability, especially in areas with moisture or heat, secure the strips with mounting clips or brackets.
Connect to a Power Source: Plug the LED strip lights into an outlet or hardwire them to a power source. Use an appropriate adapter or transformer if required.
6. Hide the Wires
Hide the wires with cable management solutions like adhesive clips, cable conduits, or running them behind cabinets to maintain a clean and polished look in your kitchen.
7. Test and Adjust
Once installed, turn on the lights to test them. Adjust the position if needed to achieve the desired effect. If your LED strips are dimmable, use a compatible dimmer to set the right brightness level.
Benefits of LED Strip Lights in Kitchens
Energy Efficiency: LED lights consume less power compared to traditional lighting, saving on electricity bills.
Enhanced Visibility: Brighten workspaces for safer and more efficient cooking.
Aesthetic Appeal: Modern and stylish appearance of your kitchen design.
Customizable Lighting: Ability to adjust colours and brightness for mood or occasion.
Conclusion
LED strip lights are one of the easiest means of making your kitchen look both more functional and beautiful. There can be endless applications of such lights, such as undercabinet lighting or accenting a kitchen island. All you need to do is follow these simple steps.
With a focus towards excellence, always look towards Ecoshift Corporation to offer long-lasting and high-quality LED strip lights and accessories. Discover your perfect lighting choices today at www.ecoshiftcorp.com and take your kitchen’s ambiance to the next level!